
Brother Printer User Manual: A Comprehensive Guide
Welcome! This detailed guide provides essential information for quickly setting up and efficiently utilizing your Brother printer, ensuring optimal performance and longevity․
We prioritize safety; always adhere to the provided guidelines throughout the setup and operational phases for a seamless experience․
This manual simplifies the process with clear instructions and illustrative diagrams, designed for users of all technical skill levels․
Congratulations on selecting a Brother printer! This section introduces you to the core functionalities and benefits of your new device, designed to enhance your home or office productivity․ Brother printers are renowned for their reliability, innovative features, and commitment to delivering high-quality output․
This user manual serves as your comprehensive resource, guiding you through every step – from initial setup and configuration to advanced printing, scanning, and copying operations․ We understand that technology can sometimes be daunting, so we’ve structured this guide with clarity and simplicity in mind․
Before you begin, please take a moment to familiarize yourself with the safety precautions outlined within this manual․ Following these guidelines will ensure both your safety and the longevity of your printer․ This printer is designed for versatile use, supporting a wide range of paper types and sizes, and offering both wired and wireless connectivity options․
We are confident that your Brother printer will become an invaluable asset, streamlining your workflow and meeting all your printing needs․ Let’s get started!
Unboxing and Initial Setup
Carefully unpack your Brother printer and verify that all components are present․ You should find the printer itself, the power cord, a USB cable (if applicable), the starter toner or ink cartridges, and this user manual․ Inspect the packaging and printer for any signs of damage during shipping․ If damage is present, contact your retailer immediately․
Remove all protective tape and packaging materials from both the inside and outside of the printer․ Place the printer on a stable, level surface with adequate ventilation․ Connect the power cord to the printer and a grounded electrical outlet․ Do not turn the printer on yet․
Next, install the toner or ink cartridges following the instructions provided in the quick setup guide․ Load paper into the paper tray, ensuring it’s properly aligned; Finally, connect the printer to your computer via USB or network, or proceed with wireless setup as detailed in the following sections․
Hardware Overview
Your Brother printer is designed with user-friendliness in mind․ The exterior features a robust construction, housing key components for efficient operation․ The front panel provides access to the toner/ink cartridges and paper output tray․ The top surface typically hosts the scanner unit (on multifunction models) and control panel․
The rear of the printer includes connectivity ports – USB, Ethernet (for network connection), and potentially a phone line jack for fax functionality․ The paper tray is usually located at the bottom, offering adjustable settings for various paper sizes․ Internal components include the print head, fuser unit, and various sensors ensuring optimal print quality․
Understanding these basic hardware elements will aid in troubleshooting and maintenance․ Refer to the detailed diagrams within this manual for specific component locations on your model․ Familiarize yourself with these features for a smoother printing experience․
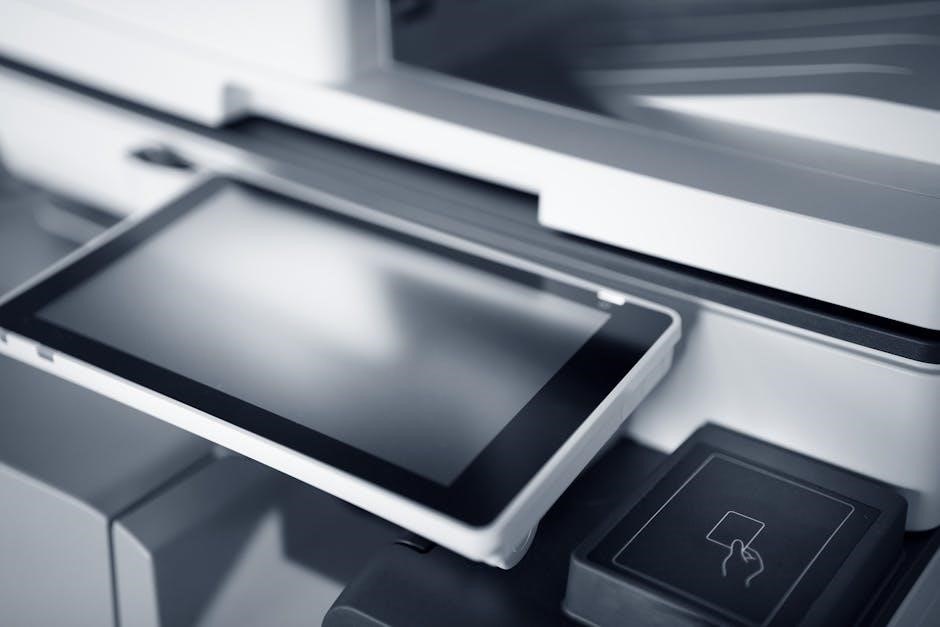
Control Panel Features
The Brother printer’s control panel serves as your primary interface for managing print jobs and accessing printer settings․ Most models feature a color touchscreen LCD, offering intuitive navigation through menus․ Common icons include ‘Start’ for initiating prints, ‘Stop’ for canceling jobs, and ‘Back’ for returning to previous screens․
Dedicated buttons often control functions like scanning, copying, and faxing (if applicable)․ A ‘Menu’ button unlocks advanced settings, allowing customization of print quality, paper handling, and network configurations․ The panel also displays status indicators – power, error messages, and toner/ink levels․
Utilizing the control panel, you can directly manage print queues, adjust volume settings, and perform routine maintenance tasks․ Refer to the on-screen help for detailed explanations of each function․ Mastering the control panel streamlines your printing workflow․

Paper Tray and Handling

Proper paper handling is crucial for preventing jams and ensuring optimal print quality․ Your Brother printer features a standard paper tray, typically accommodating various paper sizes – letter, legal, A4, and more․ Adjustable paper guides within the tray ensure secure alignment, preventing skewed prints․
Always fan the paper stack before loading to separate the sheets and reduce static cling․ Avoid overfilling the tray; adhere to the maximum capacity indicated by the fill line․ Specialty papers, like glossy photo paper, require dedicated trays or manual feed slots․
For duplex (two-sided) printing, ensure the duplex unit is correctly installed and configured in the printer settings․ Regularly check for any torn or damaged sheets within the tray․ Correct paper type selection within the printer driver is vital for best results․
Connectivity Options (USB, Network, Wireless)
Your Brother printer offers versatile connectivity options to suit various environments․ USB connectivity provides a direct, reliable link to a single computer – ideal for individual use․ Simply connect the USB cable (not always included) between the printer and your computer, and the driver will typically install automatically․
Network connectivity (Ethernet) enables sharing the printer among multiple users on a wired network․ Connect an Ethernet cable to the printer and your network router or switch․ Wireless connectivity (Wi-Fi) offers greater flexibility, allowing placement without physical cables․
To connect wirelessly, access the printer’s control panel and select your Wi-Fi network, entering the password when prompted․ The Brother iPrint&Scan app simplifies wireless setup․ Ensure your printer and devices are on the same network for seamless communication․
Software Installation
Proper software installation is crucial for unlocking the full potential of your Brother printer․ Begin by downloading the latest drivers and software package from the official Brother support website, ensuring compatibility with your operating system (Windows, macOS, etc․)․ Avoid using outdated CDs, as they may lack the newest features and updates․
During installation, carefully follow the on-screen prompts․ The software will guide you through connecting your printer (USB, network, or wireless) and configuring basic settings․ You may be asked to accept license agreements and choose installation options, such as installing optional software components․
After installation, test the printer by printing a test page․ This confirms successful driver installation and proper communication between your computer and the printer․ Refer to the online help resources if you encounter any issues during the process․
Installing the Brother Printer Driver
Downloading the correct driver is the first step․ Visit the official Brother support website and navigate to the driver download section, selecting your printer model and operating system․ Choose the “Full Driver & Software Package” for a complete installation, including printing, scanning, and other utilities․
Once downloaded, run the installer․ Accept the license agreement and follow the on-screen instructions․ The installer will typically guide you through connecting your printer via USB or setting up a network connection․ It’s important to have your printer powered on and connected during this process․
The installation may take several minutes․ Avoid interrupting the process․ Upon completion, a confirmation message will appear․ Test the installation by printing a test page from your computer․ If issues arise, consult the Brother support website for troubleshooting guides․
Brother iPrint&Scan App Setup (Mobile Printing)
Unlock mobile printing with the Brother iPrint&Scan app, available for free on both iOS and Android devices․ Download the app from your respective app store and launch it once installed․ Ensure your Brother printer is connected to the same Wi-Fi network as your mobile device․
The app will automatically search for available Brother printers on your network․ Select your printer from the list․ You may be prompted to enter a PIN displayed on your printer’s control panel to confirm the connection․
Once connected, you can print documents and images directly from your phone or tablet․ The app also supports scanning documents to your device or cloud storage services․ Explore the app’s features for advanced options like two-sided printing and color adjustments․ Regular app updates ensure optimal performance and compatibility․
Basic Printing Operations
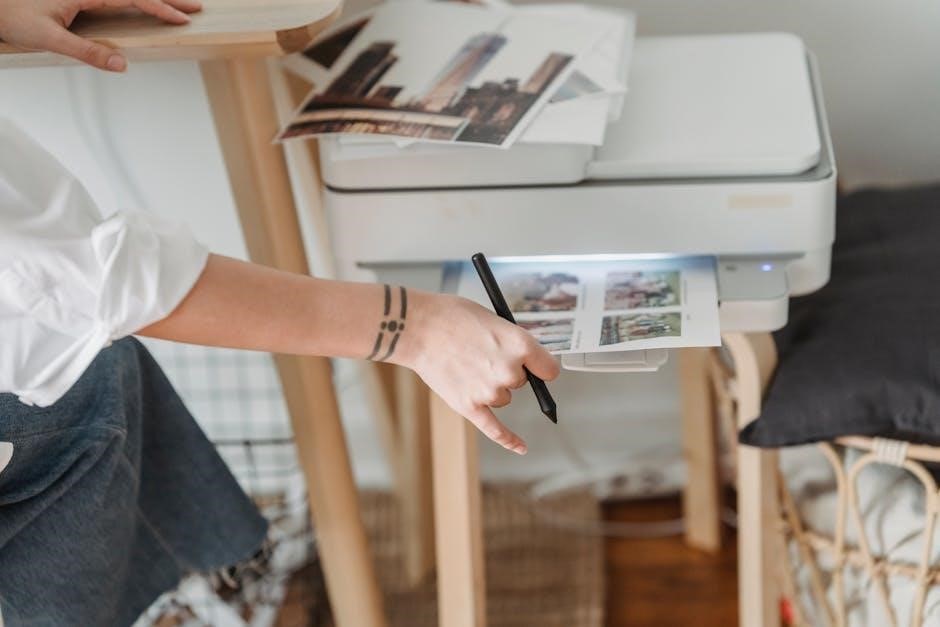
Initiating a print job is straightforward․ First, ensure your Brother printer is powered on and connected to your computer or mobile device․ Open the document or image you wish to print from your chosen application․ Navigate to the “File” menu and select “Print․”
A print dialog box will appear․ Here, you can select your Brother printer from the list of available printers․ Adjust print settings such as paper size, orientation (portrait or landscape), and print quality (draft, standard, high)․ Specify the number of copies needed․
Preview your document to confirm the layout before printing․ Click the “Print” button to begin the printing process․ Monitor the printer’s status to ensure successful completion․ For duplex printing, select the appropriate option in the print settings․
Scanning and Copying Functions
Scanning documents with your Brother printer is simple․ Place the document face down on the scanner glass, aligning it with the indicated guides․ Access the scanning function either through the printer’s control panel or via the Brother software on your computer․
Select your desired scan settings, including resolution (dpi), color mode (color, grayscale, black & white), and file format (PDF, JPEG, etc․)․ Preview the scan to ensure proper alignment and settings․ Initiate the scan, and the document will be saved to your computer․
Copying documents is equally easy․ Place the original document on the scanner glass․ Use the control panel to specify the number of copies and adjust settings like darkness and paper size; Press the “Start” button to begin the copying process․ The printer will automatically produce the desired number of copies․
Troubleshooting Common Issues
Encountering problems? This section addresses frequent issues․ For paper jams, first power off the printer and carefully remove any visible paper from all trays and access points․ Consult the printer’s diagram in this manual for specific locations․ Avoid tearing the paper, as fragments can cause further jams․
Connectivity problems often stem from loose cables or incorrect network settings․ Ensure the USB cable is securely connected or that the printer is properly connected to your Wi-Fi network․ Restart both the printer and your computer․ Verify the printer is selected as the default printer in your system settings․
Print quality issues like faded prints or streaks can be resolved by cleaning the print heads through the printer’s maintenance menu․ Also, check ink or toner levels and replace cartridges if necessary․ Ensure you are using the correct paper type for your printing needs․
Paper Jams
Paper jams are a common issue, but easily resolved with careful attention․ Always power off the printer before attempting to remove jammed paper – this prevents potential damage and injury․ Gently pull the paper in the direction of the paper path, avoiding tearing, as small fragments can cause further complications․
Consult the printer’s internal diagrams (found earlier in this manual) to locate all potential jam points, including the paper trays, the rear access panel, and the internal print mechanism․ If paper is difficult to remove, slightly raise the output tray to create more space․
After clearing the jam, inspect the rollers for any debris or damage․ Restart the printer and test with a fresh stack of paper․ Recurring jams may indicate a paper quality issue or a problem with the paper feed mechanism, requiring professional service․
Connectivity Problems
Experiencing connectivity issues? First, verify all cables (USB or Ethernet) are securely connected to both the printer and your computer․ For wireless connections, ensure the printer is within range of your router and that the correct network password has been entered․
Check your computer’s network settings to confirm it’s connected to the same network as the printer․ Restarting both the printer and your router can often resolve temporary glitches․ If using the Brother iPrint&Scan app, ensure it’s updated to the latest version․
The printer’s control panel displays network status information; consult this for error codes․ If problems persist, try reinstalling the printer driver or running the Brother network troubleshooting utility․ Contact your internet service provider if the issue seems network-related․
Print Quality Issues

Are your prints appearing faded, streaked, or with incorrect colors? Begin by checking the ink or toner levels – low supplies are a common cause․ Ensure you’re using genuine Brother consumables for optimal results․ Run the printer’s built-in cleaning cycle to clear any clogged print heads․
Adjust the print quality settings within your print dialog box; selecting a higher resolution can improve sharpness․ Verify the correct paper type is selected in the printer settings, as different papers require different settings․ Inspect the drum unit (for laser printers) for damage or wear․
If the problem persists, try printing a test page directly from the printer’s control panel․ This helps determine if the issue lies with the printer itself or your computer/software․ Regularly cleaning the printer’s internal components is crucial for maintaining print quality․
Maintenance and Cleaning
Regular maintenance is key to extending the life of your Brother printer and ensuring consistent print quality․ Periodically clean the exterior with a soft, damp cloth – avoid harsh chemicals or abrasive cleaners․ For laser printers, carefully vacuum the inside to remove dust and toner particles, always with the printer powered off․
Inkjet printers require occasional print head cleaning, accessible through the printer’s control panel or software․ Clean the scanner glass gently with a scanner cleaning solution to remove smudges and fingerprints․ Inspect and replace the drum unit (laser) or ink cartridges (inkjet) as needed, following the printer’s prompts․
Always refer to your printer’s specific model documentation for detailed cleaning instructions․ Neglecting maintenance can lead to print quality issues and potential hardware failures․ A clean printer is a happy printer!
Advanced Features & Settings
Unlock your printer’s full potential by exploring its advanced features․ Access the printer settings through the control panel or the Brother printer software on your computer․ Here, you can configure duplex printing (two-sided), adjust color settings for optimal output, and set up secure print jobs requiring a PIN for release;
Network settings allow you to manage IP addresses, configure wireless security, and monitor printer status remotely․ Explore the scan-to-email functionality for direct document delivery․ Customize paper size and type settings for specialized media․
Consider setting up user accounts with different access levels for enhanced security․ Regularly check for firmware updates to benefit from the latest features and security patches․ Detailed explanations of each setting are available in the comprehensive online manual․
Welcome to the world of seamless printing! This comprehensive guide is designed to empower you with the knowledge to effectively set up and utilize your new Brother printer․ We understand that technology can sometimes be daunting, so we’ve prioritized clarity and simplicity throughout this manual․
Your journey begins with understanding the importance of safety․ Please carefully review the safety precautions outlined within before proceeding with installation or operation․ This ensures a secure and trouble-free experience․
Inside, you’ll discover step-by-step instructions, accompanied by helpful illustrations, covering everything from unboxing and initial setup to advanced features and troubleshooting․ We aim to make your Brother printer experience enjoyable and productive․